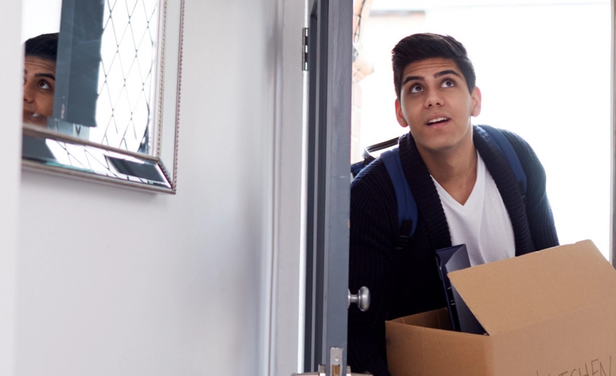

While it’s an exciting time for students, move-in day at a student housing community often comes with a number of challenges.
An extensive work order list, for instance. Elevator shafts that are clogged with traffic several times their usual volume. A key distribution process that can take hours to complete. What's worse, there is the very real possibility that not every student resident will receive the right key.
As with moving in, there are also unique problems associated with moving out. The move-out process can be challenging when you have to manually move out every student in a community.

You may wonder if every key has made it back to your management team, or fret about unauthorized key copies. Previous residents may try to return to the pool or use other resident-only amenities if they have unauthorized access. Yikes!
Automated move-ins and move-outs reduce common stressors associated with the moving process. Access Control and Smart Home IoT, two of SmartRent's most popular products, make the experience incredibly efficient. For your student residents to successfully navigate your community and gain access to their new home, all they need is the SmartRent App.
What Happens During an Automated Move-In
Move-in day at any college campus or off-campus community is typically associated with things like key distribution, long lines, and, inevitably, stress. Automated move-ins remove the friction with a workflow that alleviates pressure from housing teams and appeals to students and their families.
In a SmartRent-enabled student housing community, here's what happens during an automated move-in:
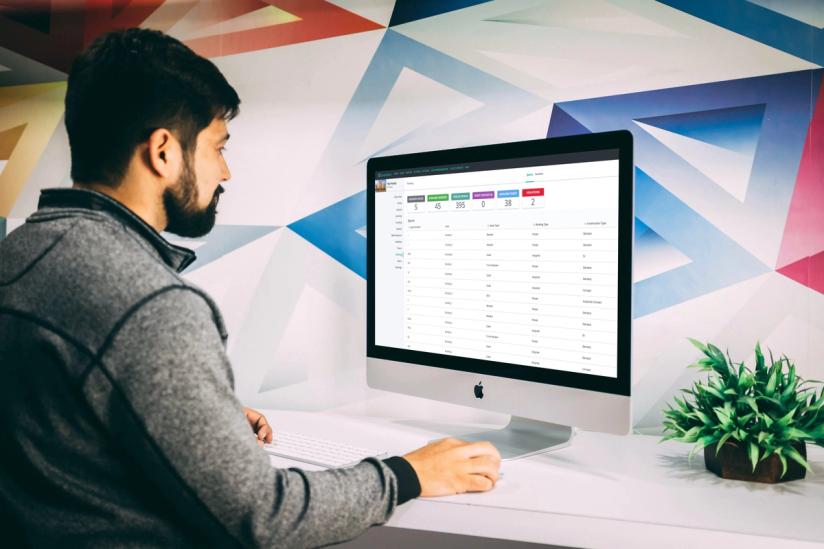
Step 1: Ahead of move-in day, the community manager will use SmartRent’s management app to kick off the move-in process. Simply tap the “Move In” button nestled under the student resident’s file. An email will be sent to the student with their access credentials and a link to download the SmartRent Resident App.
Step 2: Upon receiving the welcome email, the student will download the SmartRent App. With the app already installed, the student doesn’t need to stop by the leasing office upon move-in.
Step 3: On move-in day, the student approaches the entrance to the common area.
Step 4: The student will present the credentials needed to open the door. In a multi-lease scenario, each person on the lease will receive different credentials.
Step 5: When presented with the credentials, the reader communicates to the controller inside the control panel. Credentials are checked by the controller to ensure they are valid for the specific access point at that time.
The cloud bridge connects the control panel and other hardware on-site to the web and SmartRent’s Alloy Access software. The cloud bridge is key because it gives site teams the ability to control access remotely – no need to be on-site to make key decisions about who can enter or exit the building.
Step 6: If the access credential is accepted, the control panel communicates this to the electric strike, so the strike may release and the exterior door may be opened.
Step 7: Once inside the building, the student approaches the door to the apartment, offering the access credential to the smart lock. Like exterior access doors, multi-lease residents will enter their unique credentials.
Step 8: Once accepted, the smart lock will grant access to the student. The student has now officially moved in!
Troubleshooting Ahead of Move-In Day
As any seasoned student housing professional will tell you, even the most well-planned move-in days can experience a few hiccups. Luckily, the SmartRent Management App offers additional tools that help team members troubleshoot potential problems well ahead of move-in day:
Determine whether any hubs are offline. Hubs are crucial to the functionality of smart home devices, so be sure to rectify this ahead of move-in day.
Learn the status of each smart lock, so you can lock or unlock them before the student shows up.
Assign a parking spot within the “Leasing” tab. A designated parking spot will be greatly appreciated by your student resident when they move in!
Operators are also able to onboard student residents to the SmartRent App ahead of move-in day. That way, your residents already have the necessary application installed to take advantage of contactless move-in whenever they arrive.

What About Move-Outs?
In many ways, automated move-outs are similar to automated move-ins. Housing operators with SmartRent installed need only push a button to move the student out of the apartment when the lease expires.
Step 1: The student grabs the last of their items from the apartment.
Step 2: When the student no longer needs access to the apartment, managers open the SmartRent App and toggle to the student’s current lease.
Step 3: The manager taps the “Move Out” button. This will set off a chain of events that moves the student out completely. Actions include disabling notifications, removing user activity, and revoking access to the unit, common areas, and the SmartRent App. “Move Out” will also lock the apartment door and reset interior thermostats to an appropriate temperature.

SmartRent Makes Moving Day Easier
Moving day can be an arduous experience for both students and the management team. With SmartRent's Access Control and smart home devices, clients can take advantage of contactless move-ins and move-outs, significantly improving their overall moving experience.
When you move in and out with SmartRent, you'll never go back to doing it manually! Request a demo to learn more about contactless move-ins and how they can free up time, on or off-campus.